Toggle navigation
About
Bizarre
Cultural
Food
Gardening
History
Hobbies
Lists
Movies
Books
Photo Stories
Travel
Home
Hobbies
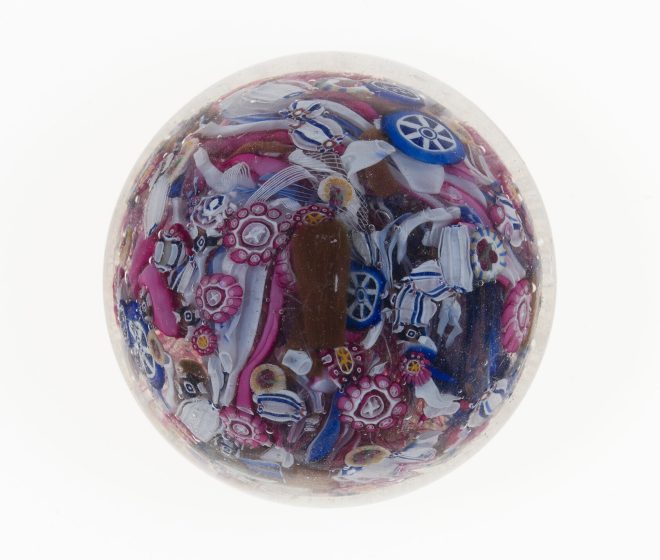
Pietro Bigaglia: Creator of the Modern Millefiori Paperweight
Gardening
Growing Tussock bellflower
History
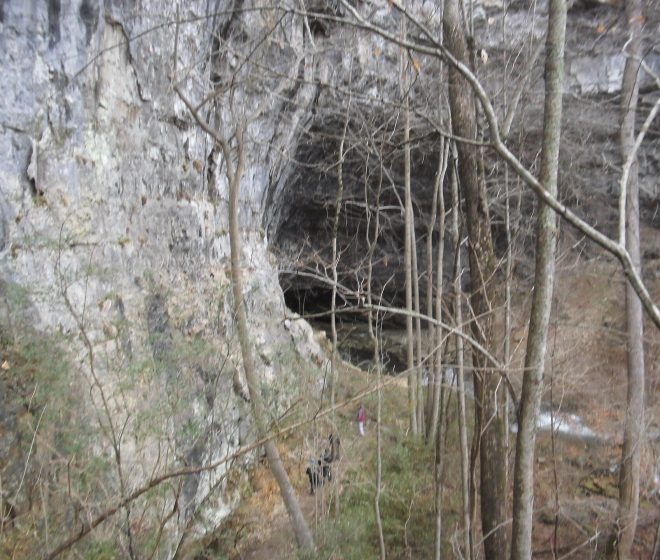
The History of the Ghost Town of Lost Cove
Books
,
Lists
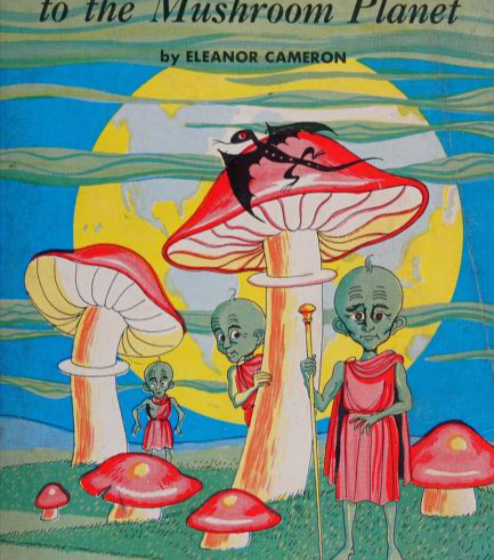
Five Classic Science-Fiction Writers for Young Readers
Movies
No ordinary child: a review of “The Visitor” 1979
Hobbies
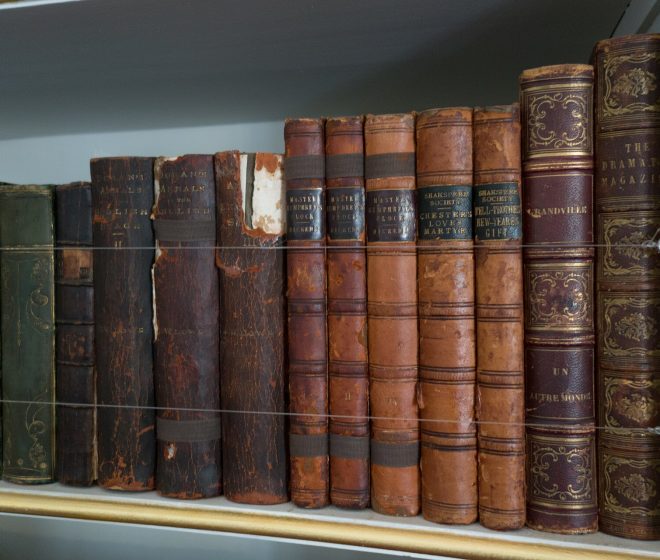
Protecting Paper Collectibles from Mold and Humidity
Hobbies
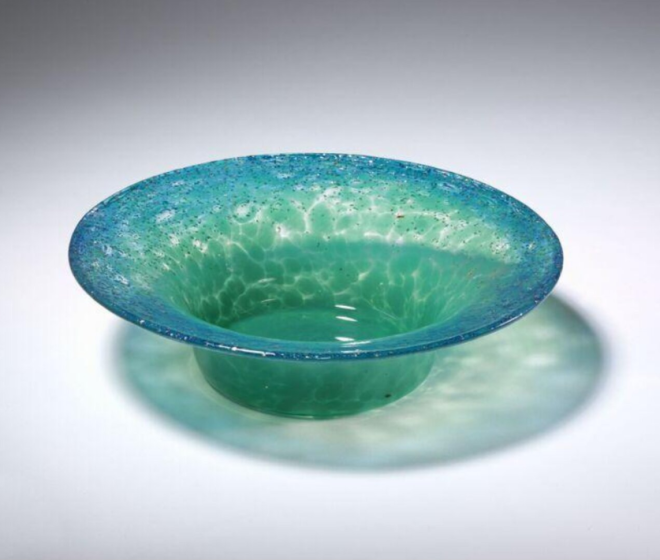
The History of Monart Glass
Movies
Into the future in New York City: a review of “The Last Child” 1971
Gardening
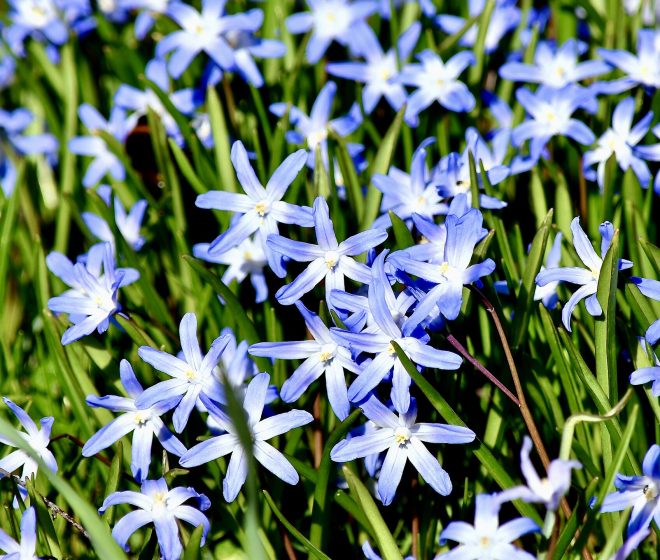
Growing Glory-of-the-Snow
Food
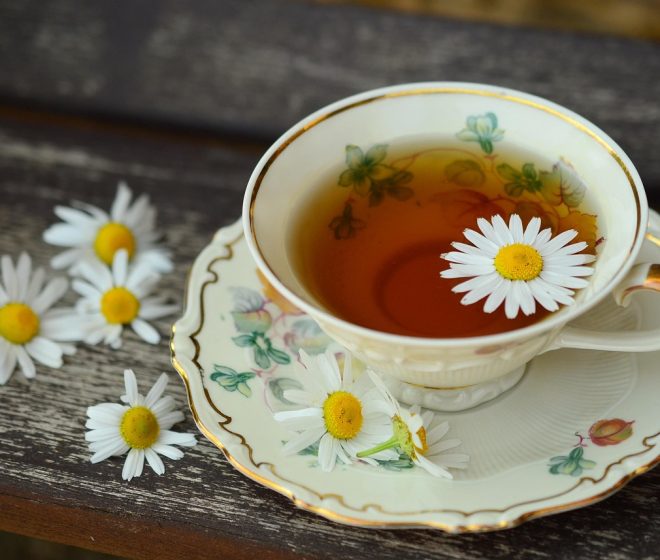
Tea parties: Using different sweeteners for tea
1
2
3
…
29